

VID’S GUIDE: Removing Side Rails


Image Gallery

Written by Vadeem/Vid1900
There are two good ways to remove Side Rails from a game, and the way you choose depends on the finish of the rails.
Rails with their natural “brushed stainless” finish are the easiest, because we can remove any tiny scratches that occur during removal with fine sandpaper.
Rails with Powdercoat, Brass or Chrome Plating are quite fragile, and require much more care.
Let’s start with Stainless, as that is what you will encounter 99% of the time.
The first tool in any Rail removing arsenal is a Heavy Duty Scraper. We need a stiffer blade to wedge under the rail and raise the Spiral Nail up a millimeter, so we can pull it out.
Heavy Duty Scrapers have a flat and beveled side to the blade. For this job, the flat side goes against the cabinet, so we don’t gouge the wood.
Light Duty Scrapers are super flexible, like the kind you would use for taping drywall. These Light Duty Scrapers are useful for cutting through double sided tape that we sometimes find under a rail.

Make sure the edge of your Scraper is smooth, with no nicks or burrs. If the edge is damaged, grind or file it back to a nice edge. You can knock any sharp corners off with a file.
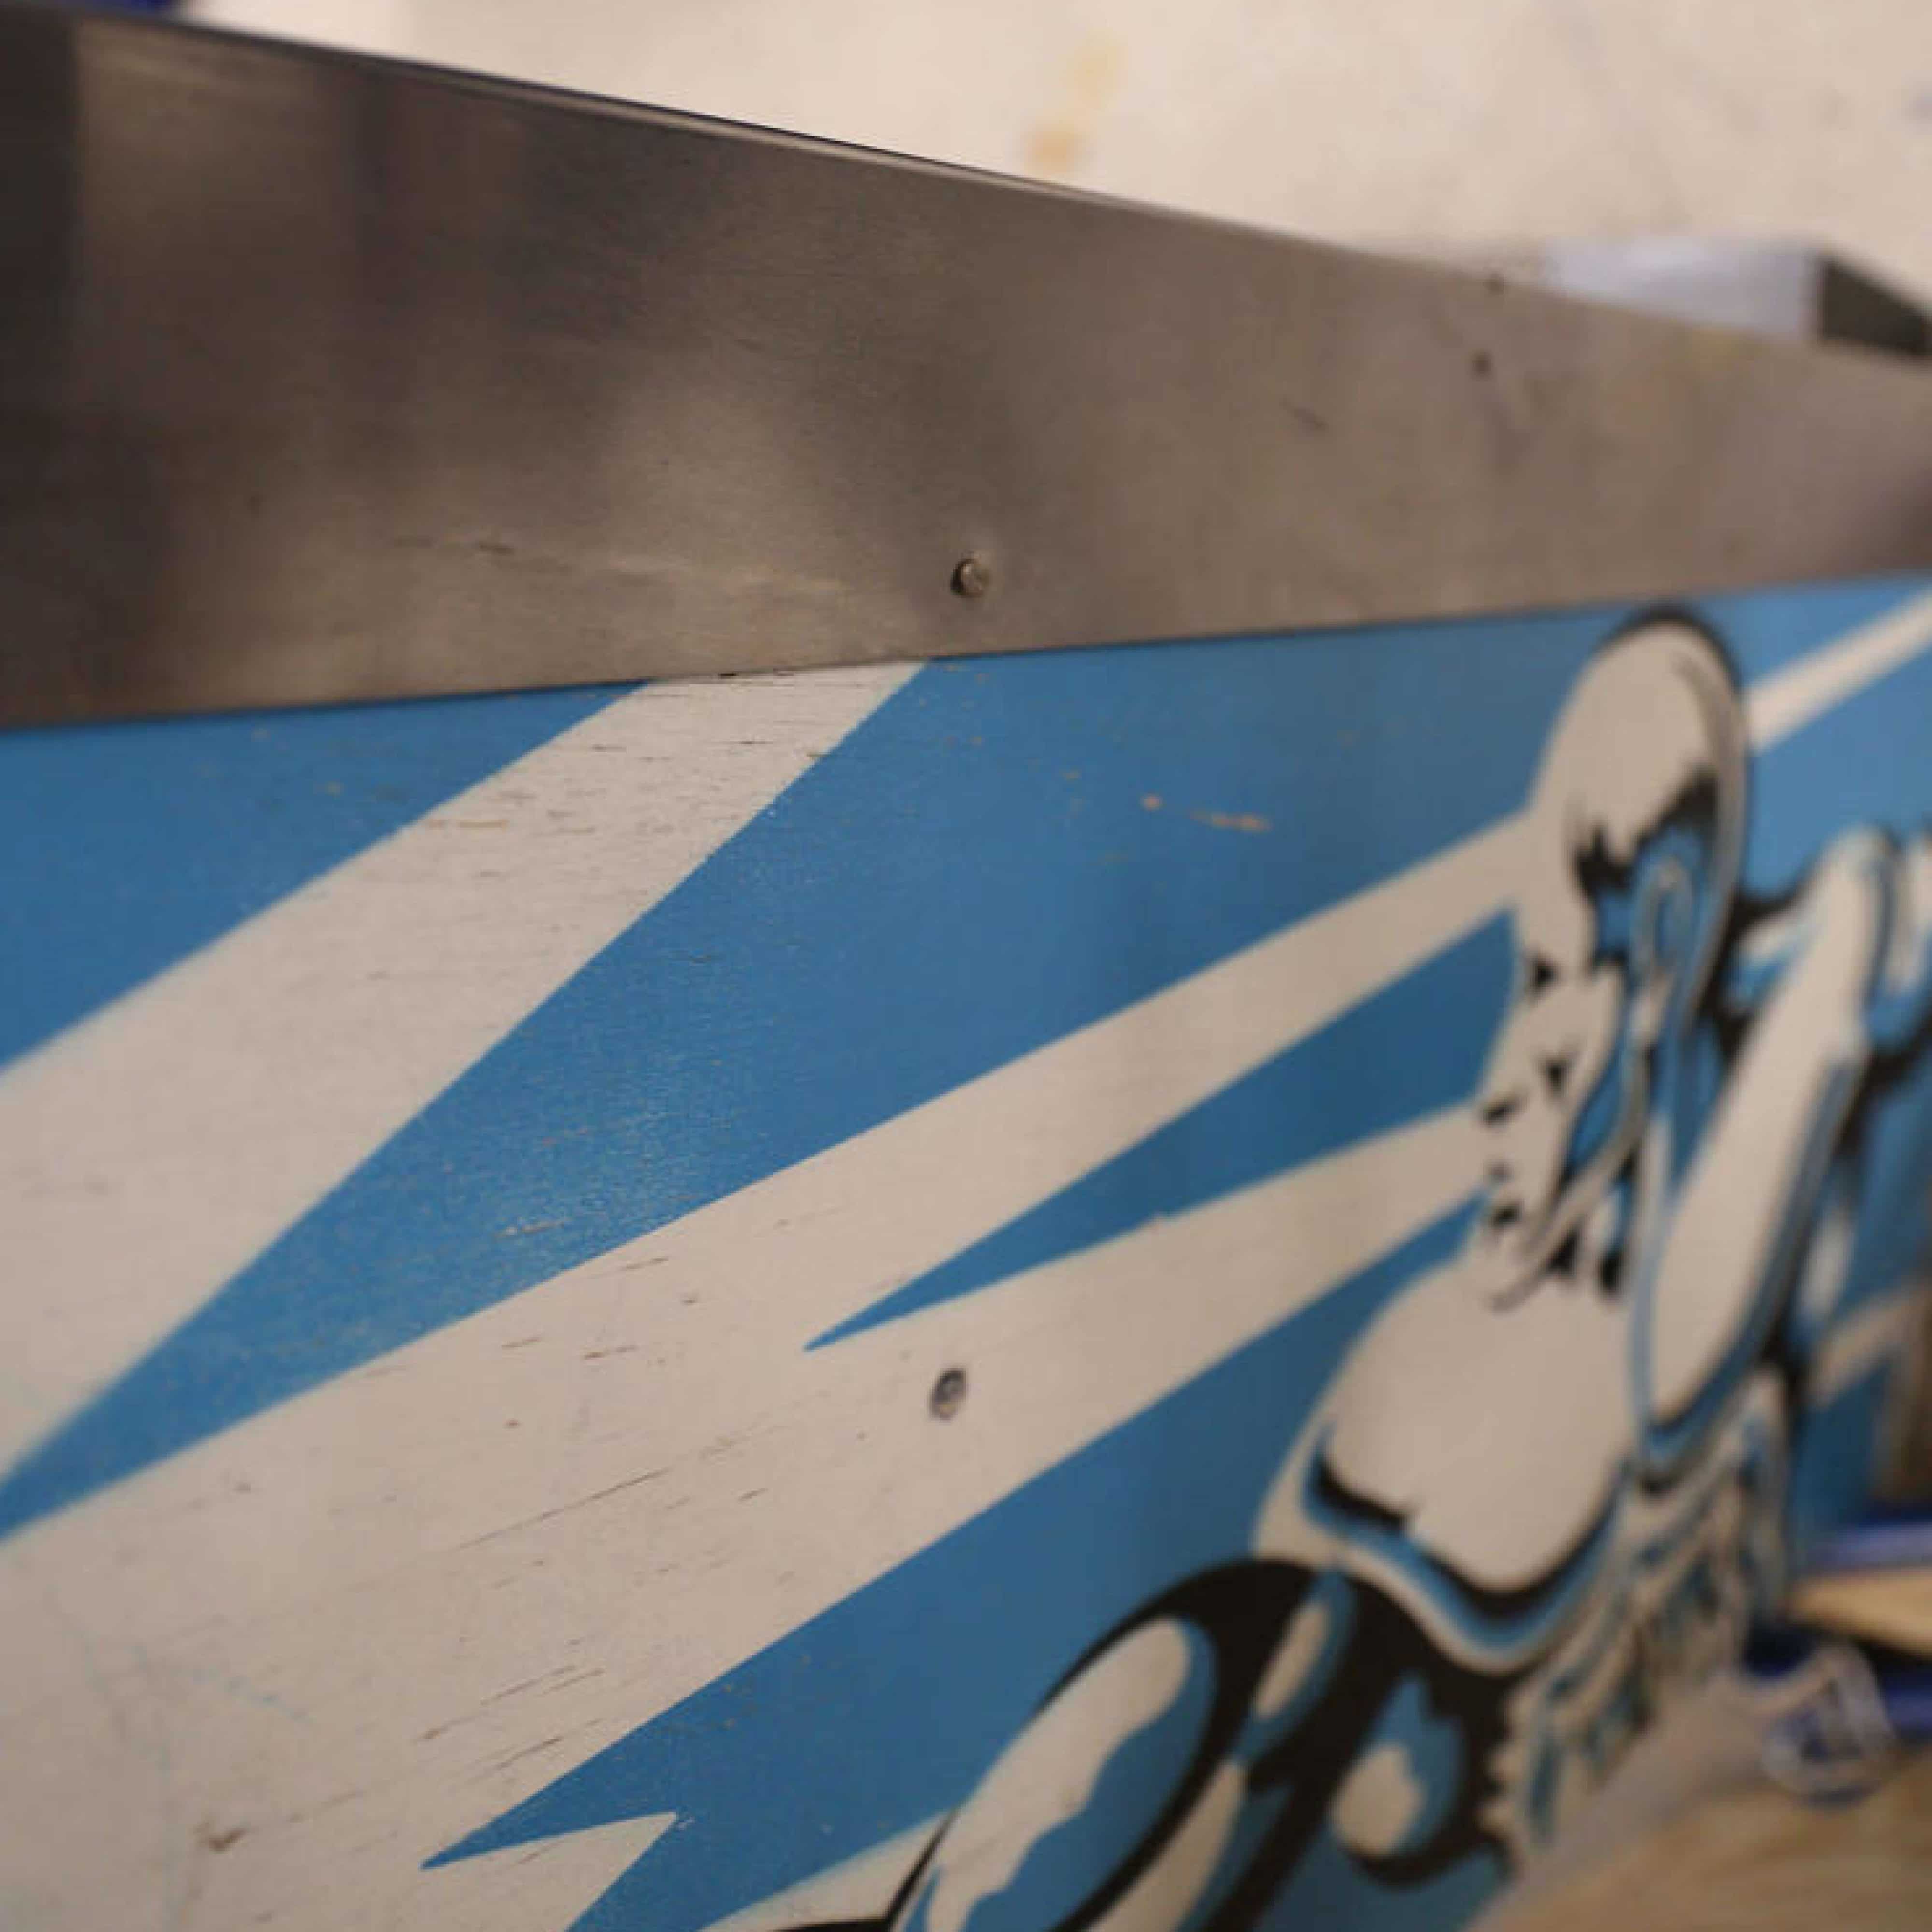
All we want to do at this stage of the game is raise up the Screw Nail head a millimeter, so don’t get too involved scraping everything under the rail.
This game is getting re-stenciled so we don’t have to worry about the paint, but if your game has good paint or Decals (the most fragile thing ever put on a pinball machine), you need to run a strip of 2″ Blue Painter’s Tape along the bottom of the rail, to protect the finish.
If you have a Decaled cabinet, you also need to run a razor blade just under the rails, separating the strip of decal under the rail from the rest of the body. This is so if you catch the decal with your Scraper under the rail, it won’t tear down into the visible portion.

The next tool you will need is a pair of End Nipper Cutters.
The jaws come together with the perfect trajectory for removing Spiral Nails that are almost flush with the rail surface.

Even Nippers advertised as “Flush End” or “Flush Cut” are rarely flush.
Even when the picture shows them with a truly flush face, they usually arrive with recessed blade edges like this.

We can easily grind the face flush on a pair of Nippers with a recessed set of blades.
Using a grinding wheel or metal file, carefully grind to the point where the blades meet.
Don’t overheat the metal (if it turns blue, you have ruined the temper of the steel), don’t press too hard – just let the wheel do the work.
Here is an old pair of Crescent brand Nippers with a chipped jaw. A perfect candidate for grinding.
Smooth your work with a fine file so the Nippers don’t scratch the rails.

If you ever tried to remove Spiral Nails with a pry bar, claw hammer, or oscillating cutting tool, you will die inside when you remove your first nail with the Nippers; it’s that easy.
The jaws open at exactly the right angle to slip under the head, and out the nail comes.
In fact, about 80% of the time, you can use the Nippers without even prying under the rails with the Scraper.
Even if you get too excited and accidentally Nip the nail head off, you are still doing great. The rails will come off just fine with the nail shafts still in place.

The worst adventure in Rail removal is when the Rails are Powder coated or Plated.
Those beautiful Mike Chestnut brass rails will look terrible with their shiny brass plating scratched off.
So we switch to a removal of a more surgical nature…..
First we need a Punch.
A Punch has a hardened tip that is much harder than the head of the nails.

Next, hit the Punch squarely in the center of the nail head.
One good blow will do it; you don’t need a bunch of little taps.

Now that the Nail head is dimpled, the dimple will keep the drill bit from just wondering off and scratching the Rails.

Although the Dimple is 99.96% effective in keeping the drill bit from wandering, we need 100% when dealing with a $400 set of Rails.
Using a BRAND NEW Drill Bit, drill a hole in a piece of scrap wood.
The Bit needs to be brand new to eat the head of the nail off. Used, dull bits will end up just making metal dust, or worse, slipping off the head.
A sharp Bit will get the job done in one second.

Clamp the hole in the scrap wood, directly over the nail head.
See where this is going?
You can’t slip off the nail head and scratch up the Rails.
If you started doing this for a living, and needed to make 100s of holes, you would use a Drill Bushing.
A Drill Bushing is a metal guide that keeps the drill bit “in line” and does not wear out like a wood hole would.
You just press the Drill Bushing into a piece of scrap wood and then never have to worry about the hole getting larger from wear.


Again with a Brand New Bit, it takes one second to drill off the head.
A sharp drill bit makes CHIPS, and a dull bit makes DUST – remember that if your grandfather never taught you.


With the head now gone, the Rails will be free to be removed, leaving the Nail shafts behind.

Your flush Nippers really come in handy gripping the little stub of a nail shaft.
They are also good for removing broken staples that only have a little bit of leg standing proud.

When reinstalling the Rails, you might want to use small screws to reattach the Rails – Only using Nails around the flipper buttons.
This will keep the Rails in place on route, but make it much easier to replace them in the future.


